

An old plush can need attention without needing a complete makeover. A flat ear might be familiar; a seam spilling filling needs a different response. If you're working out how to restore an old stuffed animal, start by recording its condition and deciding what you want to keep. Don't begin by opening it or putting it in water.
This guide helps you plan that first assessment. It doesn't provide instructions for replacing eyes, rebuilding joints, or repairing fragile fabric. Those jobs need someone who can examine the toy and understand its construction.
How to restore an old stuffed animal without losing its character
Write down the result you want before choosing a repair. Perhaps the toy needs enough support to sit on a shelf. Perhaps you want a loose seam assessed while leaving the face exactly as it is. "Make it look new" leaves much more room for changes you may regret.
Choose the details that matter to you. Keep a photo of the lopsided smile, a worn paw, or the way the head leans. Send those details with any repair inquiry. A fuller body and fresh eyes can look tidy but feel like a different toy.
Separate appearance from intended use. A keepsake that will sit behind glass has different needs from a toy someone wants to handle every day. Tell the repairer who will use it and how. A cosmetic improvement alone doesn't establish that an old toy is suitable for a child.
Make a condition record before touching the filling
Set the plush on a clean, stable surface with its body supported. Look in good light without stretching fabric to see through it. Take a full view and close-ups of the areas you're concerned about. Keep any old photograph that shows a detail you want preserved.
Record what you can see rather than naming a material from appearance. "Hard piece felt near the shoulder" is more useful than guessing that a particular joint is inside. Don't open the toy to settle the question.
If its identity is still uncertain, use our guide to identifying an old or unknown stuffed animal before changing labels or original details. Identification and restoration answer different questions: what is this toy, and what work should happen to it?
Your notes should cover:
- Areas where filling is visible or escaping.
- Loose or missing attached parts.
- Fabric that looks thin, split, or powdery.
- Previous patches, adhesive, or obvious replacement parts.
- Uncertain care instructions or internal components.
- The details you do not want changed.
Decide what can wait and what needs advice
You don't have to solve every problem during the first inspection. Record the issue, then stop if handling could make it worse. The checklist below is a way to organize an inquiry, not permission to attempt a repair.
| What you notice | Useful next step | Avoid for now |
|---|---|---|
| A worn but intact surface | Photograph the wear and decide whether it matters to you | Removing original fabric just for a newer appearance |
| An opening with exposed filling | Keep the toy out of use and request a seam assessment | Pushing in more filling or pulling the edges together |
| A loose eye, nose, or joint | Show the attachment area to a repair specialist | Glue, replacement hardware, or a forceful tug test |
| A flattened or uneven body | Compare its current shape with your own older photos | Assuming every low spot needs extra stuffing |
| Fragile fabric or an uncertain interior | Ask a conservator or experienced plush restorer to assess it | Washing, brushing, or opening the toy to investigate |
Keep cleaning separate from repair
A wash won't close a seam or stabilize an attachment. It also makes the starting condition harder to document if you've already changed the surface. Decide whether cleaning is appropriate before choosing a method.
The Canadian Conservation Institute's basic textile care guidance cautions against surface cleaning textiles that are splitting, fragmenting, or have broken seams. An old toy with these problems needs an assessment before routine cleaning.
For an intact toy with readable manufacturer directions, our stuffed animal cleaning guide covers care decisions in more detail. Don't transfer a method from another plush simply because the outside looks similar. When the label is missing, tell the repairer that instead of guessing.
Keep the first appointment focused: does the fabric tolerate handling, and should repair or cleaning come first for this particular toy? There isn't one sequence that fits every damaged plush.
Ask about restuffing before opening a seam
Restuffing changes more than fullness. Ask the repairer how the proposed work could affect the shape, weight, and familiar feel. Show which areas you want preserved. You can request an assessment without agreeing to a full replacement of the interior.
For a weighted toy, stop before opening any compartment. The current SQEQE panda weighted plush description, for example, lists both PP cotton and weighted beads at the bottom. That is a reminder to check the exact product, not evidence that every plush has the same interior. We don't recommend adding, removing, or redistributing weighted filling at home.
Ask what the repairer proposes to retain, what they would replace, and whether they'll contact you before expanding the work. If keeping removed original material matters, discuss that in advance. The answer may depend on its condition.
Choose a repairer around the actual problem
Look for examples involving similar construction and damage. Someone who makes new plush toys may have different experience from someone who conserves fragile older textiles. For a potentially valuable or historically important item, ask about conservation experience specifically.
Send a short description with your photos. Include the intended use, known past repairs, and anything you are unsure about. A useful request might read: "Please assess the open side seam. I want the existing face and body shape preserved. Please ask before replacing any material."
Before shipping, get answers to these questions:
- Which work is included in the estimate?
- What cannot be judged until the toy arrives?
- Will you request approval before changing the agreed work?
- Can you document the materials and repairs used?
- How should this particular toy be packed for the trip?
A repairer may need an in-person assessment before confirming a method or price. Compare what each estimate actually includes rather than choosing on the total alone. We haven't tested or endorsed a restoration service in this guide.
Keep the repair record with the toy
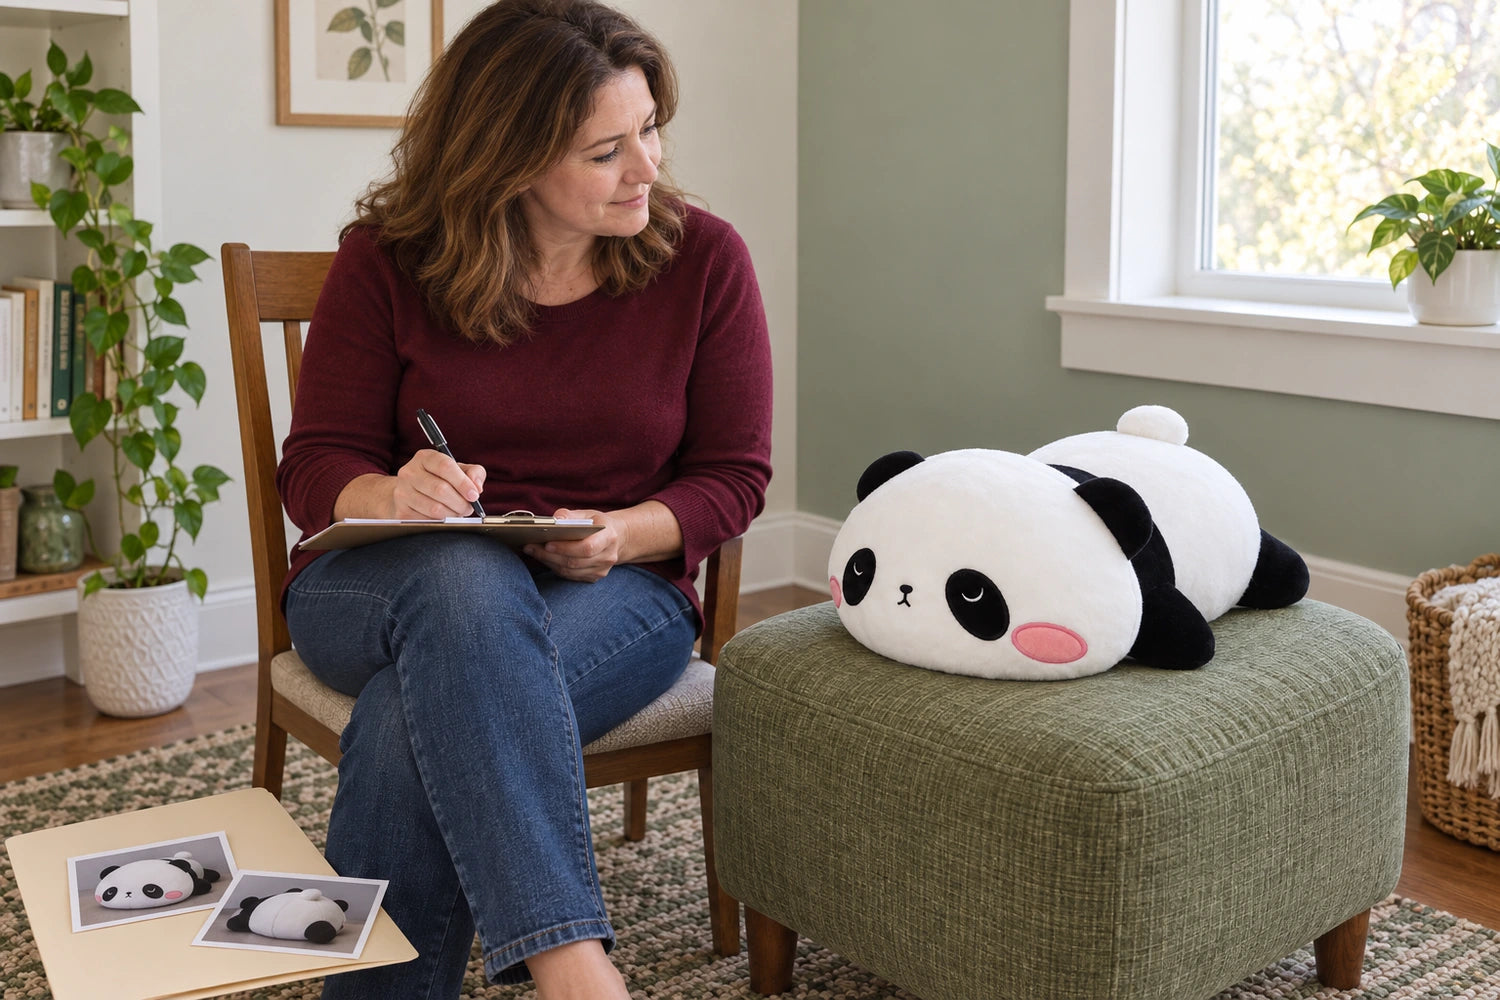
After any agreed work, save the original photographs, the repairer's notes, and a new set of photographs together. Write down the date and what changed. Describe the work as reported rather than assuming the whole toy was rebuilt.
Check the result against your original request. Is the familiar expression still there? Did the repairer explain an unexpected change? Ask about anything unclear before returning the toy to its intended use.
For its resting place, follow the repairer's advice and the relevant parts of our stuffed animal storage guide. A repaired toy may still need limited handling. Don't use a successful cosmetic repair as proof that it can now tolerate washing or rough play.
Sources and limits of this guide
We reviewed the Canadian Conservation Institute's textile-care guidance and SQEQE's panda product description on September 22, 2026. Textile conservation guidance informs the conservative approach here; it isn't a treatment plan for every stuffed toy. The panda example illustrates why construction matters, not how to repair weighted compartments.
No individual old toy was examined or restored for this article. The generated photographs illustrate inspection and record-keeping with a current SQEQE product. They are not before-and-after evidence or proof of a repair service. Ask a qualified professional for advice about fragile, valuable, or structurally damaged items.
FAQ
Can I restore an old stuffed animal at home?
You can document its condition and decide what you want preserved. Whether further work belongs at home depends on the materials and damage. When learning how to restore an old stuffed animal, keep structural work separate from basic observation and ask for advice before making irreversible changes.
Should I replace all the stuffing?
Not automatically. Ask what problem replacement would solve and how it could change the toy's shape or feel. Don't open an unknown or weighted interior to find out what is inside.
Can I glue a loose eye back on?
Don't use glue as a default fix. Have the attachment and surrounding fabric assessed, especially if a child might handle the toy. Looking secure after repair is not the same as confirming suitability for play.
How much does stuffed animal restoration cost?
Request an individual estimate with a written scope. The work could involve a limited seam repair or a much more involved conservation project. Ask whether assessment, materials, shipping, and further authorized work are included; this guide does not provide a verified price range.
Will restoration make it look brand new?
That should not be assumed or required. You may prefer a visible repair that preserves familiar features. Agree on the intended result before work starts and ask which changes the repairer considers unavoidable.
Start with the change you actually need
Deciding how to restore an old stuffed animal begins with a clear request, not a shopping list of repair supplies. Record the toy as it is, choose the details to preserve, and get an assessment for anything beyond low-risk observation. A limited, well-explained repair may be all you wanted.


